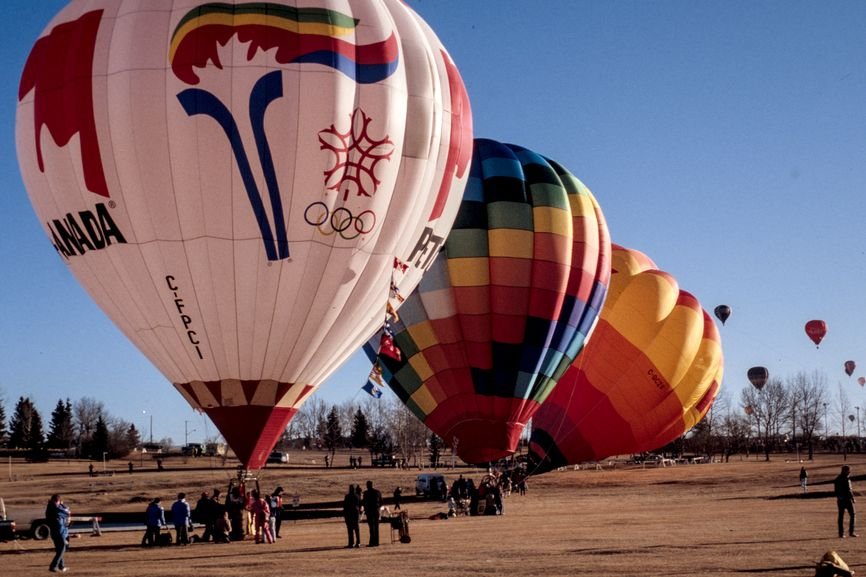
November 28, 2024—This post outlines my experience scanning film—about 180 rolls of decades-old 35mm negatives and slides—for a family photo archive.
I scanned the film using a BlackBox 135 (review here) and a Nikon D810. I also jury-rigged a copy stand to shoot 150 photographic prints and documents. Images were processed with darktable and renamed with digiKam.
In the paragraphs that follow, I’ll explain my process and equipment, the mistakes I made and lessons I learned.
Expectations…
Scanning film is a time-consuming, fiddly process. Before buying equipment and accessories, consider the total cost—in both time and money—of learning to use the hardware and software, and organizing, scanning and processing your images.
There are companies that will digitize your slides and negatives. Prices and quality vary. And no-one cares about your images (and the memories they contain) as much as you do.
And results
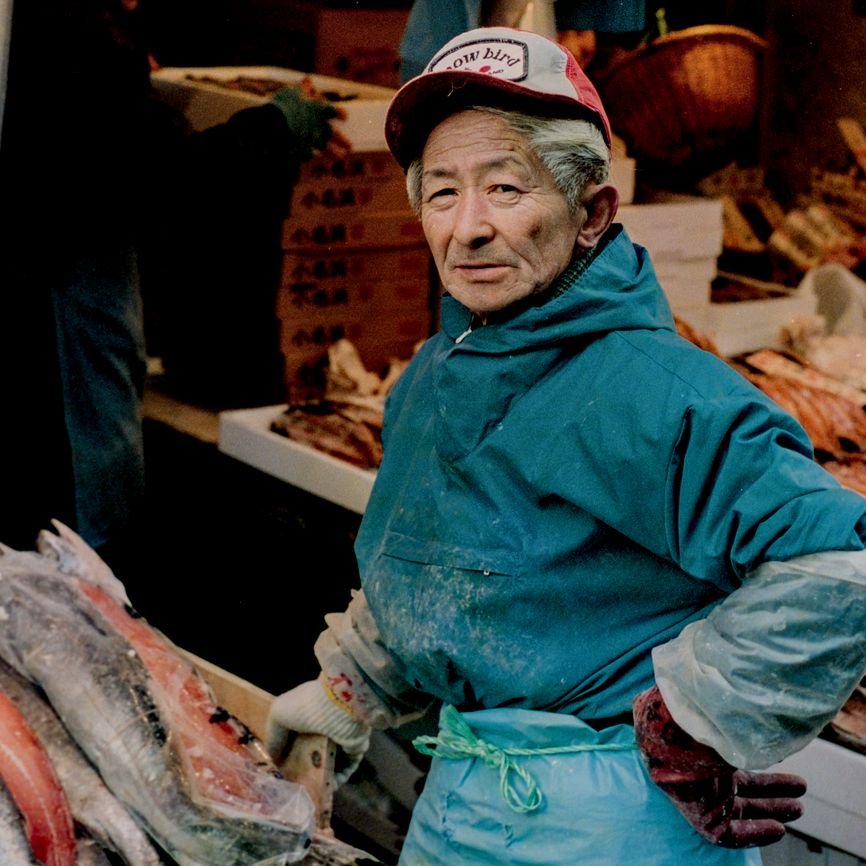
You can get good results from scans, especially from properly exposed and preserved slides. But damage caused by time, handling and poor storage conditions take their toll. Don’t expect perfection.
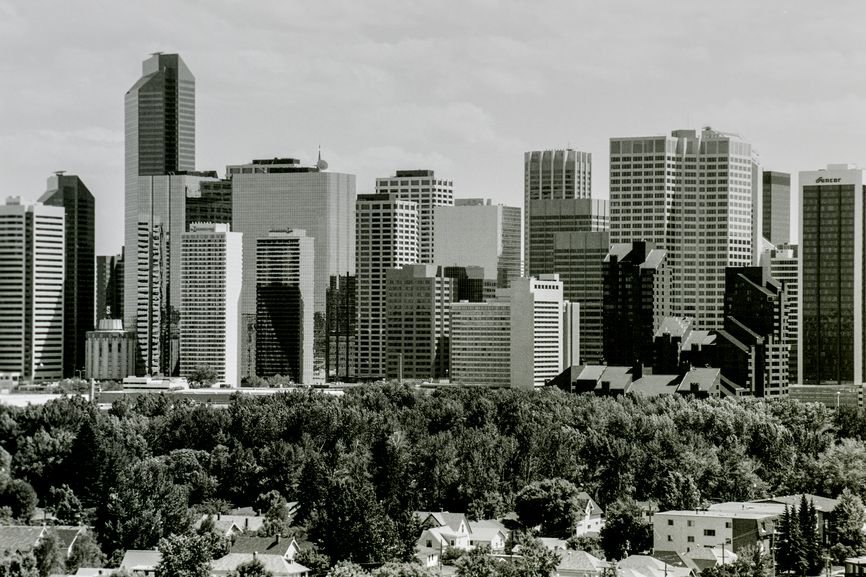
I didn’t digitize the entire 180 rolls of film. That would have generated 4,000+ images and taken forever. Instead, I scanned 848 frames that I thought would produce usable images. That resulted in about 200 “keeper” images. Some of those are technically flawed but hold important memories. A handful made the process worthwhile.
Film scanning process
Here’s how I tackled the scanning process.
- Gather all the slides and negatives you will digitize in one place.
- Keep each set of prints, their associated negatives and the lab envelope, together. Do the same for slides and their envelopes. The envelope will show when the film was processed, which will help you label and organize the scanned images. Also, you can quickly review a set of prints (or the proof sheet or CD some labs provide) to determine which negatives to scan. Otherwise, you’ll have to examine each negative strip with a loupe or magnifying glass and a light box. Or you’ll have to scan every frame. Both are a waste of time when there’s only one usable image on a 36-exposure roll.
- Give each lab envelope a number, so you can identify it later.
- Identify the frames on each strip of negatives that you want to scan. Mark the glassine envelope holding the negatives with a grease pencil.
- Scan the negatives (see below). To support darktable’s negadoctor feature, scan an unexposed frame at the start or end of the roll. Note the envelope number; the number of frames scanned; the film stock; and the date of the scan, if scanning multiple batches.
- Identify the slides you want to scan. A light box and magnifying glass are helpful. I put an orange adhesive dot on the top right-hand corner of each slide mount. The dot’s placement indicated the film emulsion was facing up, and the slide was correctly oriented, so I didn’t need to rotate the image later. Keep the accepted and rejected slides together in the lab envelope. Note the envelope number; the number of slides scanned; the film stock; and the date of the scan, if scanning multiple batches.
- I scanned the images to NEF (RAW) files, with the film emulsion facing the lens and auto ISO, at 1/250 second and f8. The actual ISO was 64–100 with the 105mm lens. The DSLR was set to 6500K to match the BlackBox 135’s light source. I used Nikon’s “Exposure Delay Mode” to minimize camera shake. The D810 doesn’t have focus peaking, but use this feature if your camera has it.
- I linked the D810 to the laptop using darktable’s tethering feature, which let me import images directly into darktable. A 26-inch external monitor made it much easier to see my work.
- For copy stand images, I used auto ISO at 1/200 second and f8. The ISO was typically 400 with the 50mm lens. The images included loose prints, diplomas and other documents.
- I kept the images together in the batches in which they were scanned. The images were in random order, which was corrected at the next stage when they were renamed.
- I backed everything up locally and to the cloud.
Naming the scanned film
At this point, the files had names like “20240621_0020.NEF”, indicating the scan date and sequence number.
Using digiKam and the notes I made when scanning the film, I renamed the files with the following pattern: “year-month-day – description – envelope # – image #.NEF”.
That format produced file names like “1987-07-01 – Pat in Alberta – E003 – 004.NEF”. These names will sort chronologically and indicate the subject. They were also traceable if I needed to rescan a file.
The date is from lab envelope. For copy stand images, I estimated the year, and used “00” when unsure of the month or day. A text expander saved time and ensured my spelling was consistent.
Processing the scanned film
Scans of the slides and copy stand images were easy to process. I used a preset with the following darktable settings as a starting point.
- Local contrast (detail): 149%
- Sharpen: 0.595
- Exposure +0.95 EV
- Lens correction: on
After that, I cropped, straightened and applied haze removal and denoise as necessary. Vibrance, saturation and contrast were adjusted as needed.
The RAW files were output as JPEGs at 90% quality. I used a fixed width of 1,800 pixels and variable height. I renamed the finished JPEGs “year-month-day – description – image #.jpg”.
negadoctor
I used darktable’s negadoctor module to digitize color, and black and white negatives. Instructions for using negadoctor are here.
High-quality, well-preserved film stock produced the best results.
The Nikon D850 lets you do in-camera conversion of negatives into positives, but only produces JPEGs.
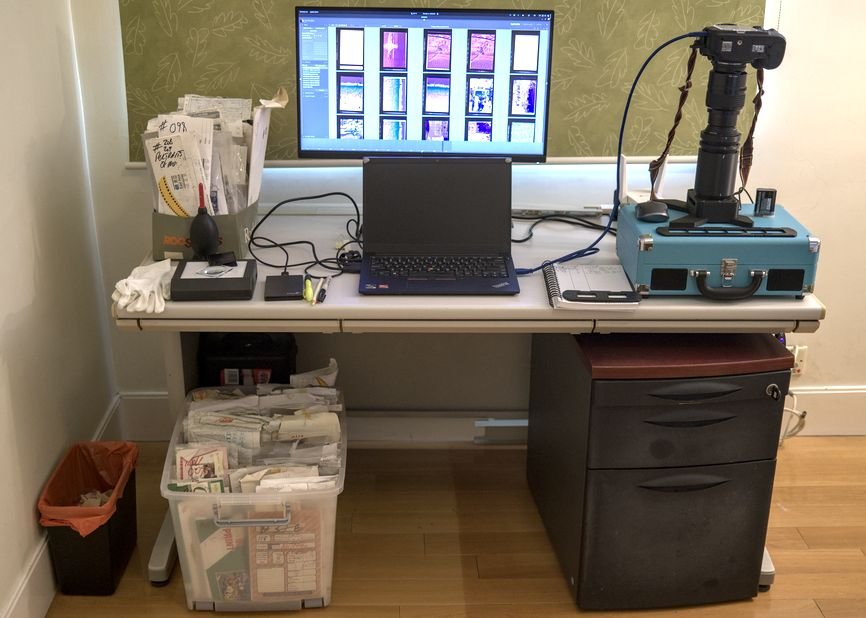
Film scanning equipment
- Nikon D810 DSLR with a borrowed Nikon AF Micro-Nikkor 105mm f/2.8D, spare battery and charger
- BlackBox 135 film scanning system
- Lenovo E14 ThinkPad running POP!_OS 22.04 (Linux)
- Wireless mouse
- darktable 4.8.0 (for processing images)
- digiKam 8.4.0 (for naming images)
- gThumb 3.12.6 (for viewing images)
- espanso (text expander)
- Grease pencil, Sharpie, ballpoint pen and notebook
- Light box
- Magnifying glass
- Cotton gloves
- Dell 26-inch computer monitor
- Portable hard disk drive, for backups and transfers
- Bulb blower
- Lens cleaning tissue
- Cable to tether the DSLR to the laptop
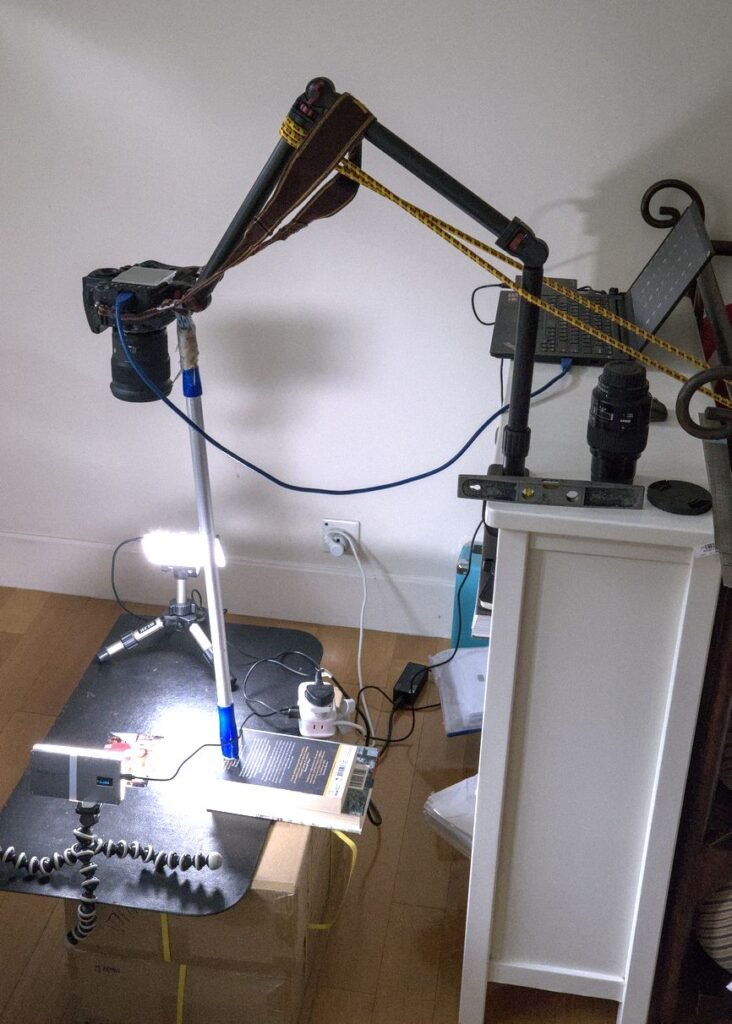
Copy stand equipment
- Everything listed above, plus:
- Sigma 50mm 1:1.4 DG lens (borrowed)
- 2 LED video lights with diffusers, miniature tripods and USB power source
- Spirit level
- DImotliyor Overhead Camera Mount Desk Stand from Amazon
- Miscellaneous pieces to stabilize the camera mount (see below)
Film scanning resources
Adam Pratt’s Declutter Your Photo Life (ISBN: 978-1-68198-875-7) contains good information about organization. A review of the book is here.
Bruce Williams’ YouTube channel is an invaluable source of information about darktable.
I also learned a lot from the Pixls open source photographic community.
Lessons learned
Organizing your slides and negatives, and standardizing your workflow, will save you time. That’s particularly true if you are digitizing a large collection in multiple sessions. Take notes.
Start by scanning and processing several small batches of images from beginning to end. That will let you catch and fix mistakes before small problems become big ones. You don’t want to rescan hundreds of out-of-focus or overexposed images.
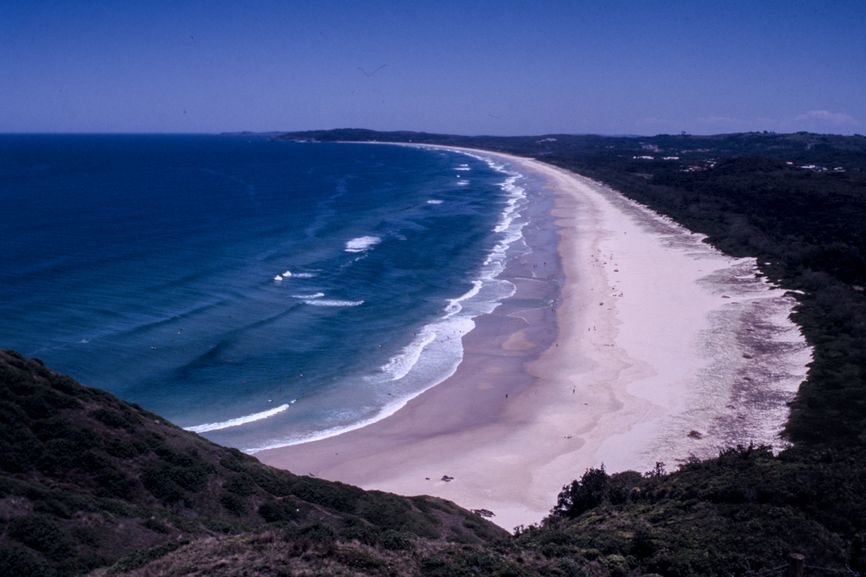
When scanning film, slides shot outdoors on a sunny day gave the best results. Black and white negatives worked well. Color negatives were variable, especially with faded or damaged film.
Judiciously cropping and straightening old images can yield major improvements. But scanned images can only withstand a little cropping before they become unusable.
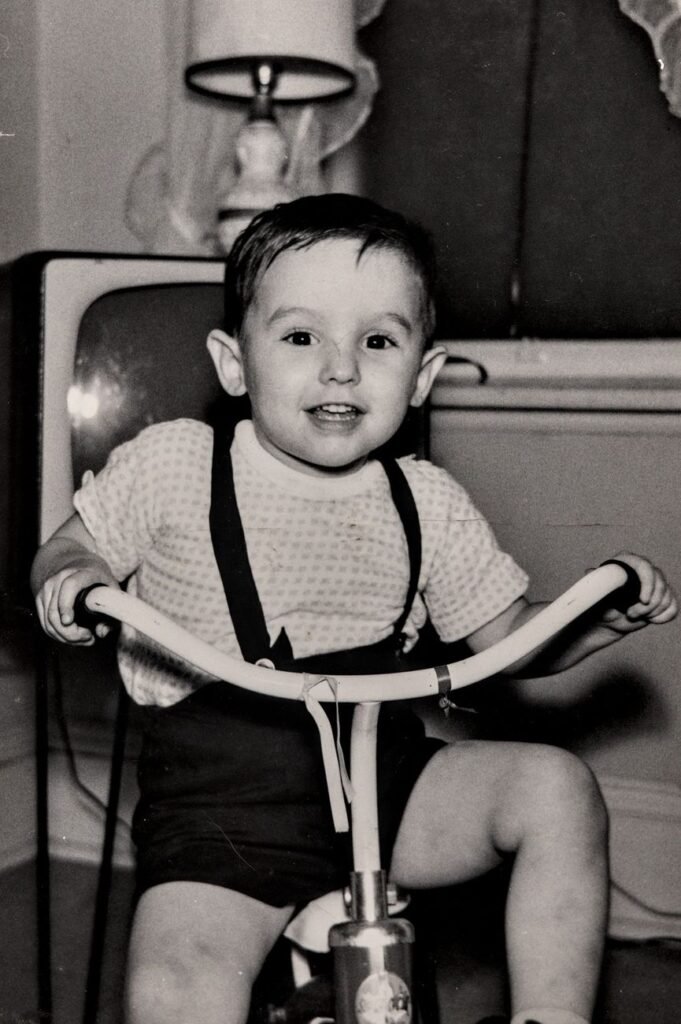
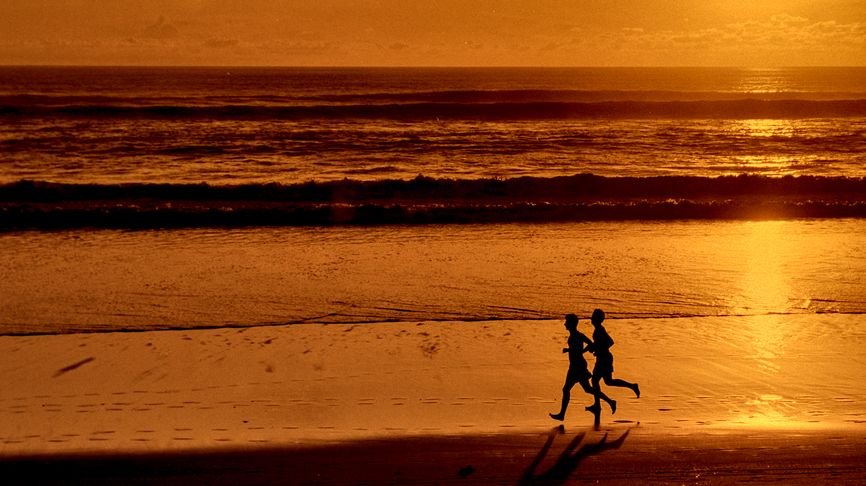
Damaged color images can sometimes be salvaged by converting them to black and white. This works best with images that are in focus and properly exposed, but faded or discolored.
My homebrew copy stand worked, but a real one would have been better. The camera arm supported my DSLR. But without bracing, the arm would swing back and forth after the shutter was triggered, even using “Exposure Delay Mode.”
If space permits, set up your scanning station in a spare room, so you don’t have to repeatedly assemble and disassemble your gear.
Consider borrowing rather than buying equipment. Unless you continue to shoot film, you won’t have much use for a scanner after you’ve digitized all your film.
After renaming the images, I was confused because they would not sort correctly. After a great deal of head-scratching, I realized I’d accidentally added two spaces to the beginning of the file names.
You’re probably doing this already, but…
Back up your work locally and in the cloud. Validate your backups.
Keep your slides, negatives, lenses and work area clean. It’s easier than removing dirt in post-production.
Christopher Dillon is a Hong Kong–based writer, photographer and entrepreneur.
* * *